Last winter, I trudged mournfully through the snow and the biting wind, wearing the same American Eagle parka every day because it was my only warm coat. Underneath it I had to wear two shirts and a sweater, but I was still freezing my butt off. This winter won’t be like that because I bought a vintage fur coat off Craiglist for $100! It’s from the 1960s or 70s, and it’s made of raccoon.

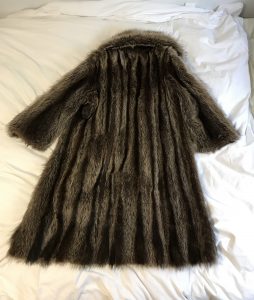
Here’s the problem: after I took it home I realized there was about a 1.5-inch tear under one of the arms. I wasn’t super freaked out about this because the same thing happened to my mink coat (another vintage piece, from the 1950s). Last time, I was on the mainland and my grandma fixed it for me. I was too scared to try, in case I made a mistake.
This time though, it was up to me to fix it. I’ve been getting more confident with my hand sewing skills, since my machine is still on the blitz. So I gathered some materials.
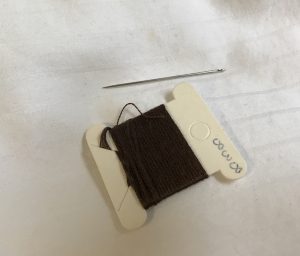
I chose to use some dark brown embroidery thread: first of all, because it’s thicker and stronger, and second of all, in case any of the thread would show through on the front side. I did split the embroidery thread into two strands though, so that it wouldn’t be super thick.
Here is what the rip looked like. You can see it’s quite long, and vintage fur can become delicate over time. I was worried that it would rip even further.
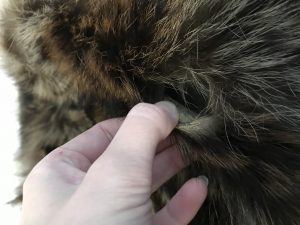
First, in order to get to the back side of the rip, I had to seam-rip the lining. Now, I could actually open up the coat and sort of turn it inside out so that I had access to the rip.
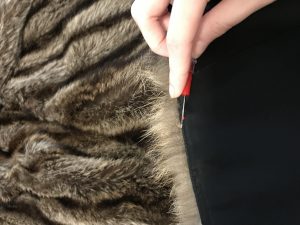
Here’s what it looked like once I opened it all up. You can see that the rip is right up against the black strip of reinforcement which connects the arm hole to the rest of the coat.
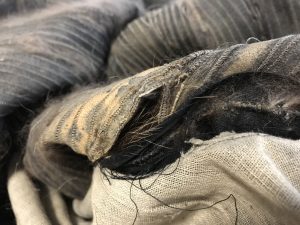
I ended up doing a whip stitch (like my grandma told me to) horizontally across the rip. My needle had to penetrate both sides of the fur, as well as the black reinforcement. That’s a lot of thick layers to sew through, so I needed to use a very old-fashioned tool…
A thimble!!
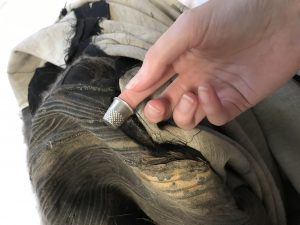
This saved my finger from literally getting stabbed every single time I needed to push the needle through the material.
In the end, here’s what the seam looked like from the inside. Both sides are tightly stitched together and won’t be able to tear further down.
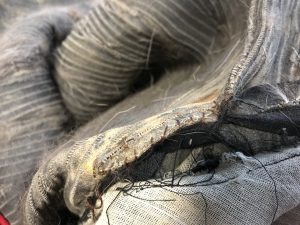
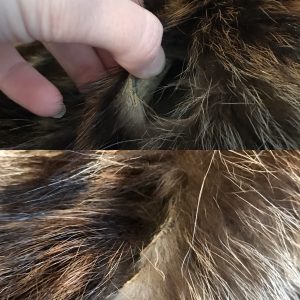
Here’s a before-after comparison. You can still see the seam a little bit from the outside, but luckily the long hairs cover it up (and it’s underneath the armpit anyway). Obviously, I am not an accomplished furrier!
To finish it off, all I needed to do was re-attach the lining to the black piping at the bottom hem of the coat. It was a really long hem, but I just did a quick whip stitch. This whole process of fixing the coat, from start to finish, took me about 45 minutes.
Overall, I think it would have cost me almost as much as I spent on the coat in the first place in order to get someone to fix it. It also would have been hard to find a furrier, because the fur industry is kind of dying. In a sense, it makes me feel even happier to have the coat because it feels like a relic of a bygone era. It’s very satisfying to take something old and broken and give it life again. I probably said the same things when I wrote about mending that wool sweater, but it just feels wholesome when you take the time to fix things. Now, when I wear this coat in the winter, I can feel proud that I played a role in its journey.
Leave a Reply